
You may be an avid cyclist or just someone who enjoys a leisurely ride on your bike. But nothing ruins a biking experience faster than an uncomfortable seat. A poorly fitted or damaged bike seat can lead to discomfort, pain, and even injury. In this article, we will explore the importance of fixing a bike seat, the different types of bike seats, and the common issues you may encounter.
Why Fixing a Bike Seat is Important
A properly adjusted bike seat plays a crucial role in ensuring comfort and preventing discomfort or injury during your ride. Here are some reasons why fixing a bike seat is important:
- Comfort: A well-fitted seat can significantly improve your comfort while cycling, allowing you to enjoy longer rides without experiencing saddle soreness or pain.
- Prevent Pain and Numbness: An improperly adjusted seat can lead to pain and numbness in sensitive areas like your buttocks, groin, or perineum. Regularly adjusting your seat can help alleviate these issues and prevent related health complications.
- Enhance Performance: When your seat is correctly positioned, it enables better power transfer, allowing you to generate more efficient pedal strokes and improve your cycling performance.
Types of Bike Seats and Common Issues
There are various types of bike seats available, each designed to cater to different riding styles and preferences. Common types include:
- Racing or Performance Seats: These seats are lightweight, narrow, and often have minimal padding. They are designed for optimal power transfer and aerodynamics, ideal for competitive cyclists.
- Recreational Seats: These seats provide a good balance between comfort and performance. They are wider, more cushioned, and suitable for leisurely rides or commuting.
- Comfort Seats: These seats are heavily padded and wider to provide maximum comfort for riders, especially for longer rides.
When fixing a bike seat, you may encounter common issues such as:
- Seat Alignment: Ensuring that the seat is level and aligned correctly is essential for both comfort and performance.
- Seat Height: Adjusting the seat height is crucial for proper leg extension and preventing knee strain.
- Seat Positioning: Adjusting the fore and aft position of the seat can help achieve the optimal riding position and balance weight distribution.
- Saddle Angle: Fine-tuning the saddle angle can help prevent discomfort, pressure points, and promote better weight distribution.
By addressing these common issues and adjusting your bike seat accordingly, you can significantly improve your riding experience and make your time on the bike more enjoyable. Remember to consult a professional bike fitter or refer to manufacturer guidelines for specific recommendations related to your bike seat model.
Tools and Materials
Essential tools needed for fixing a bike seat
To fix a bike seat properly, there are several essential tools you will need:
- Allen Wrench Set: An assortment of Allen wrenches in different sizes will be necessary for loosening and tightening bolts.
- Adjustable Wrench: A wrench with an adjustable head will come in handy for various seat adjustment tasks.
- Screwdriver: Both flathead and Phillips screwdrivers may be required for certain seat adjustments.
- Seatpost Clamp: If you need to replace the seatpost clamp, make sure you have the appropriate size to securely fasten the seatpost.
- Grease: Applying grease to the seatpost and other moving parts will help prevent corrosion, ensure smoother adjustments, and reduce friction.
- Tape Measure: A tape measure or ruler will be helpful for measuring seat height and ensuring proper leg extension.
Recommended materials for various seat repairs
Depending on the specific issue you are facing with your bike seat, you may need some additional materials for repairs:
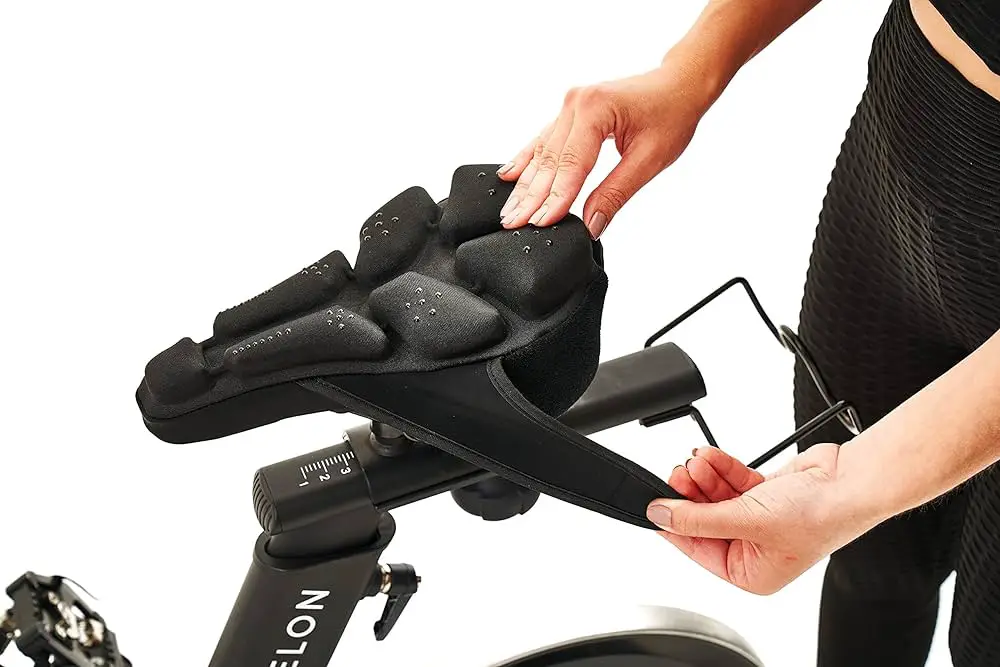
- Bike Seat Cover: If your seat is worn or torn, a seat cover can provide added comfort and extend the lifespan of the seat.
- Replacement Seat: If your seat is beyond repair or you simply want to upgrade to a more comfortable or performance-oriented seat, consider purchasing a new one.
- Seatpost: If your seatpost is damaged or too short for your desired height, you may need to replace it with a new one of the appropriate size.
- Seatpost Shim: If your seatpost is slightly too narrow for your frame, a seatpost shim can allow for a secure fit.
- Bolts and Nuts: In some cases, you may need to replace worn or damaged bolts and nuts to ensure a secure attachment of the seat to the seatpost.
- Seatpost Binder Bolt: If your seatpost binder bolt is stripped or damaged, a replacement may be necessary to effectively secure the seatpost in place.
Remember, if you are uncertain about any repairs or adjustments, it is always best to consult a professional bike mechanic or refer to the manufacturer’s guidelines. They can provide specific recommendations based on your bike model and ensure that the fixes are done correctly, guaranteeing a safe and comfortable ride.
Basic Seat Adjustment
Adjusting the seat height and angle is crucial for a comfortable and efficient ride. Here are some simple steps to help you properly fix your bike seat:
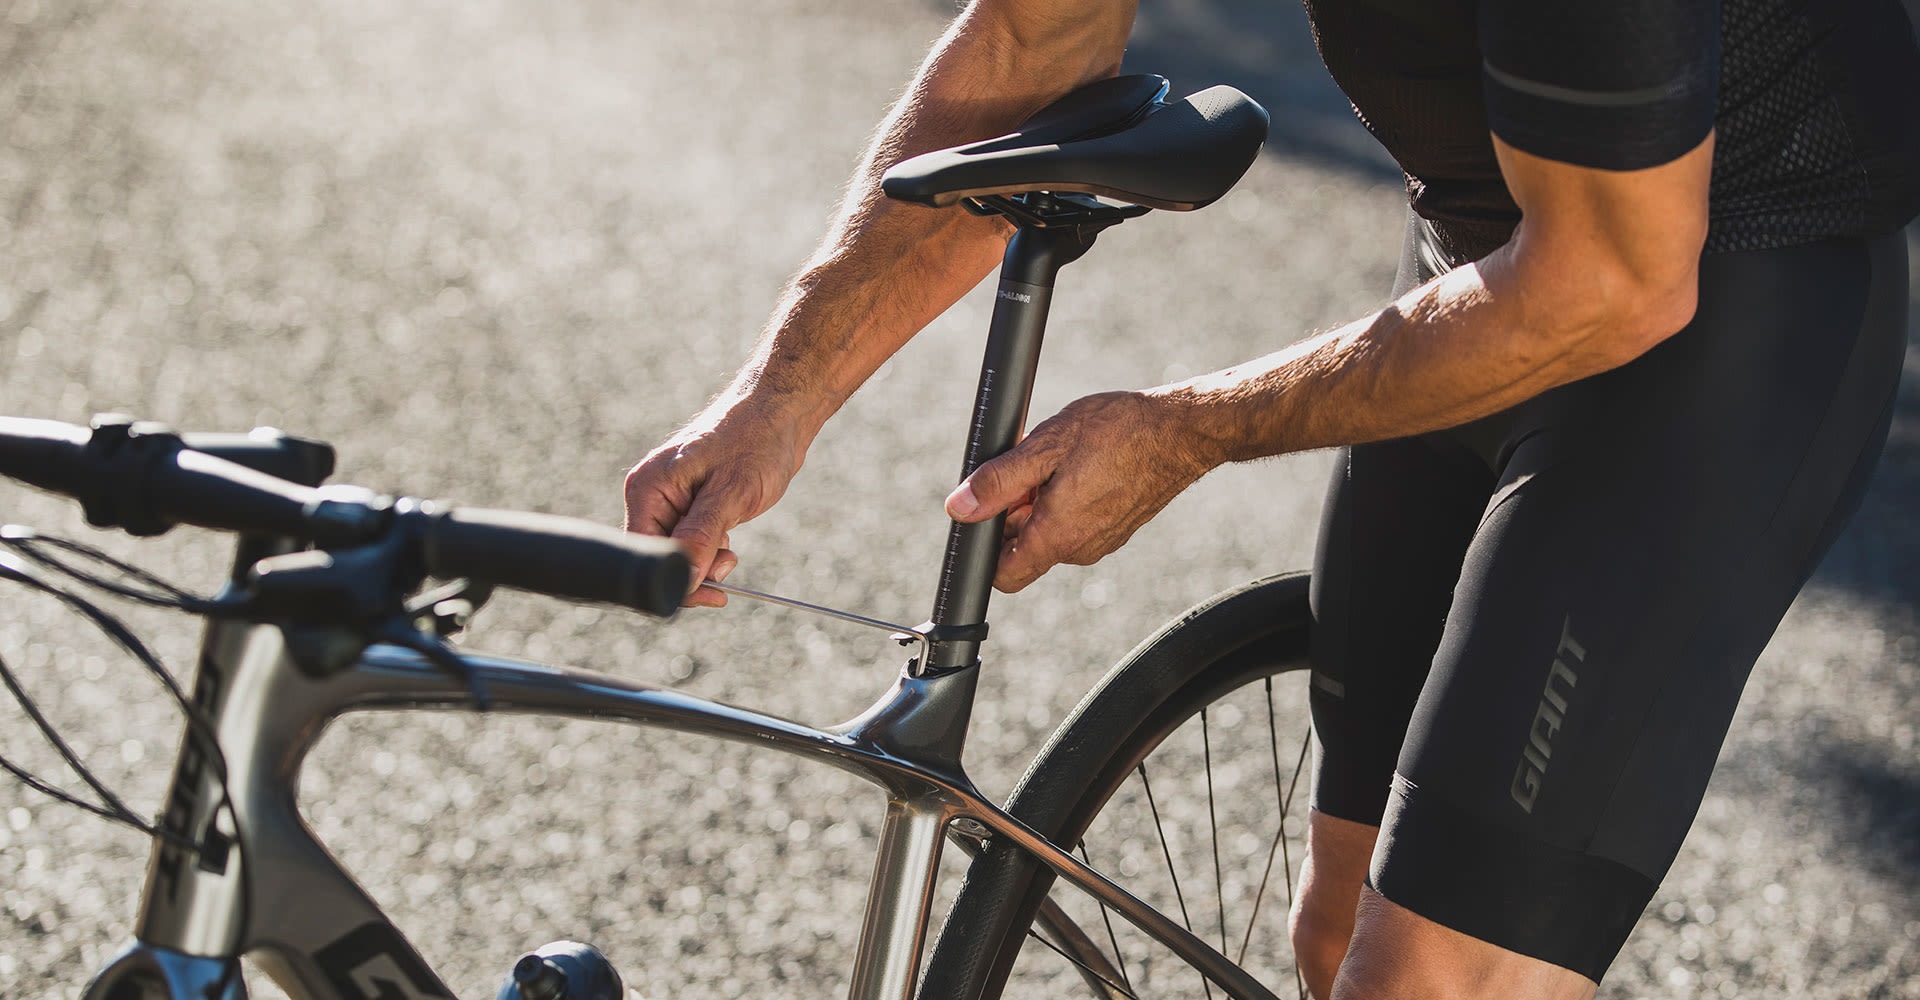
Adjusting the seat height
- Start by loosening the seatpost clamp using the appropriate tool, such as an Allen wrench or adjustable wrench.
- Raise or lower the seatpost to your desired height. It’s important to find the right balance between comfort and pedaling efficiency. Ideally, your legs should be almost fully extended when the pedal is at its lowest point.
- Once you’ve adjusted the height, tighten the seatpost clamp securely to prevent any slippage while riding. Make sure not to overtighten, as this can damage the seatpost or frame.
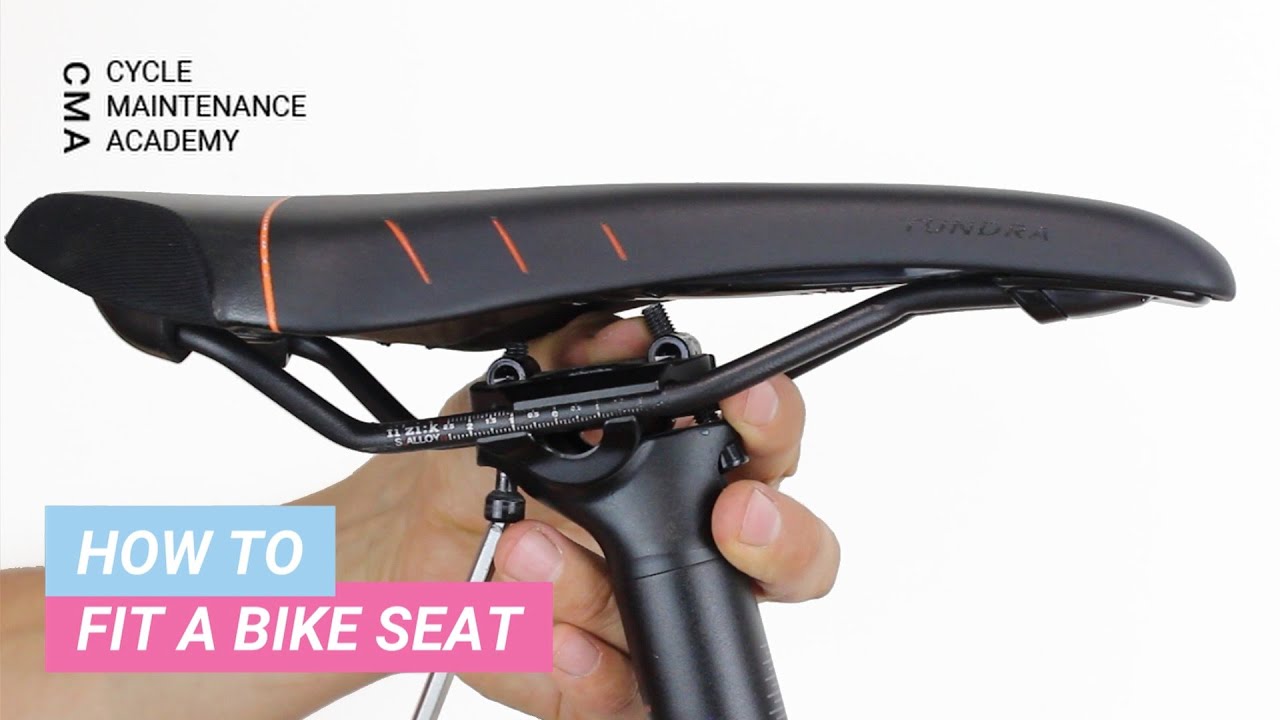
Aligning the seat angle
- Use the appropriate tool to loosen the seat angle adjustment bolt. This will allow you to tilt the seat forward or backward.
- Adjust the seat angle according to your comfort and riding style. Some riders prefer a level seat, while others prefer a slight tilt forward or backward.
- Ensure that the seat is aligned straight with the center of the bike. This will help maintain proper posture and distribute your weight evenly on the saddle.
- Once you’ve found the right position, tighten the seat angle adjustment bolt securely.
Remember, these are general guidelines for basic seat adjustment. Every cyclist has different preferences, so feel free to experiment and make small tweaks to find what works best for you. If you’re unsure or new to bike maintenance, it’s always recommended to seek advice from a professional bike mechanic or refer to the manufacturer’s guidelines for your specific bike model.
By properly adjusting your bike seat, you can enhance your riding experience and avoid discomfort or injuries. Take the time to find the perfect seat height and angle that suits your body and riding style, and enjoy a comfortable and efficient ride every time.
Repairing a Loose Seat
Identifying the Cause of a Loose Seat
When it comes to fixing a loose bike seat, the first step is to identify the cause of the problem. A loose seat can be caused by several factors, including worn-out hardware or improper installation. Check for any visible damage or wear on the seat clamp, seat post, or bolts. If you notice any signs of wear or damage, it’s important to replace the faulty parts to ensure a secure seat.
Tightening the Seat Clamp or Bolts
Once you have identified the cause of the loose seat, it’s time to tighten the seat clamp or bolts. Follow these steps:
- Start by locating the seat clamp or bolts. The seat clamp is usually located underneath the seat, while the bolts may be on the sides.
- Use the appropriate tool, such as an Allen wrench or adjustable wrench, to tighten the seat clamp or bolts. Turn the tool clockwise to tighten the bolts or clamp. Make sure not to overtighten, as this can damage the seat or frame.
- Test the seat to ensure it is securely tightened. Sit on the bike and apply some pressure to check for any movement or wobbling. If the seat still feels loose, repeat the tightening process.
- If the seat clamp or bolts are worn out or damaged and cannot be securely tightened, it’s important to replace them. Visit a local bike shop or refer to the manufacturer’s guidelines for the appropriate replacement parts.
Remember, proper seat adjustment is crucial for a comfortable and efficient ride. A loose seat can lead to discomfort, instability, and even accidents. Regularly check the tightness of your bike seat and address any issues promptly to ensure a safe and enjoyable biking experience.
By properly identifying and fixing a loose bike seat, you can avoid discomfort and potential injuries. Take the time to tighten the seat clamp or bolts and replace any damaged parts, if necessary. With a secure and properly adjusted seat, you can enjoy a smooth and worry-free ride every time.
Fixing a Torn Seat Cover
When it comes to fixing a torn bike seat cover, it’s important to evaluate the damage and material of the seat cover before deciding on the appropriate repair options. Here, we will explore how you can evaluate the damage and material of the seat cover and discuss the two main repair options: patching or replacing the seat cover.
Evaluating the Damage and Material of the Seat Cover
Before attempting any repairs, carefully examine the torn seat cover to determine the extent of the damage. Look for any frayed edges, holes, or large tears. Additionally, take note of the material used for the seat cover, as this will determine the best approach for repairing it.
For leather or synthetic leather seat covers, inspect the tear to see if it is superficial or if it has penetrated the material. If the damage is minimal, it may be possible to fix it with a simple patch or adhesive. However, if the tear is substantial or has compromised the structural integrity of the seat cover, it may be necessary to replace it entirely.
For fabric or mesh seat covers, smaller tears can often be mended by sewing them together or using a fabric patch. If the tear is larger or the material is severely damaged, replacing the seat cover may be the best solution.
Repair Options: Patching or Replacing the Seat Cover
If the tear in your seat cover is minor, you may be able to patch it up using a fabric adhesive or a piece of matching material. First, clean the area around the tear and ensure it is dry. Then, apply the adhesive or carefully sew the patch onto the seat cover. Allow sufficient time for the adhesive to dry and reinforce the repair.
For more significant tears or damage, it is often more effective to replace the seat cover entirely. This allows for a clean and professional-looking repair that ensures the longevity and functionality of your bike seat. Look for replacement seat covers that are compatible with your specific bike model and seat dimensions.
Remember, maintaining a well-maintained and comfortable bike seat is crucial for an enjoyable riding experience. By properly evaluating the damage and material of the seat cover and choosing the appropriate repair options, you can extend the life of your bike seat and avoid discomfort during your cycling adventures.
In conclusion, when faced with a torn seat cover, take the time to assess the damage and determine the material to make an informed decision about whether to patch or replace the seat cover. By following these steps and investing in the necessary repairs, you can ensure your bike seat remains in optimal condition and enjoy many more comfortable rides ahead.

Replacing a Damaged Seat
Determining when a seat replacement is necessary
When faced with a damaged bike seat, it’s important to assess the extent of the damage and determine whether a seat replacement is necessary. Here are some key points to consider:
- Structural Integrity: If the damage has compromised the structural integrity of the seat, such as severe cracks or breakage, it’s best to replace the seat. Continuing to use a damaged seat can lead to further problems and potential safety hazards.
- Uncomfortable or Unsafe: If the seat is causing discomfort or impacting your ability to ride safely, it may be time for a replacement. Issues like excessive wear, sagging, or improper support can affect your riding experience and overall comfort.
- Incompatibility: If you’re looking to upgrade or change the style of your bike seat, or if the current seat doesn’t fit your body properly, a replacement may be necessary. Choosing a seat that suits your riding style and body type can enhance your performance and comfort.
Step-by-step guide to replacing a bike seat
If you decide that a seat replacement is necessary, here is a step-by-step guide to help you through the process:
- Choose the Right Seat: Determine the type and style of seat that best suits your needs. Consider factors such as riding style, padding, width, and material. Consult with a bike shop or do some research to find the best option for you.
- Prepare the Bike: Before removing the old seat, make sure the bike is stable and secure. If necessary, adjust the seat post height to allow for easier access.
- Remove the Old Seat: Use a wrench or Allen key to loosen the seat clamp bolt located underneath the seat. Once loosened, carefully slide the old seat out of the seat post, taking note of the position and orientation for the new seat installation.
- Install the New Seat: Align the new seat with the seat post and slide it in. Ensure that it is securely in place and level. Tighten the seat clamp bolt to the manufacturer’s recommended torque specifications.
- Adjust and Test: Take a moment to fine-tune the seat position and angle to your preference. Test the new seat by sitting on it and adjusting as needed for optimal comfort and support.
Remember, replacing a bike seat may require some trial and error to find the perfect fit. Take the time to adjust and test the new seat to ensure a comfortable and enjoyable riding experience.
In conclusion, when a bike seat is damaged beyond repair or is causing discomfort or safety issues, it’s important to consider replacing it. By carefully assessing the damage and following a step-by-step guide for seat replacement, you can ensure a smooth transition to a new seat that enhances your riding experience.
Conclusion
Fixing a bike seat is an essential skill for any cyclist. Whether you need to replace a damaged seat or make adjustments for better comfort, following the proper steps is crucial. By assessing the damage, choosing the right seat, and carefully installing it, you can ensure a smooth transition and enhance your riding experience.
Tips for Proper Bike Seat Maintenance
To prolong the life of your bike seat and prevent unnecessary damage, here are some maintenance tips to keep in mind:
- Regular Inspections: Check your bike seat periodically for signs of wear or damage. Look for cracks, tears, or loose components that may need repair or replacement.
- Cleanliness: Keep your seat clean and free from dirt and debris. Use a gentle soap and water solution to wipe down the seat regularly. Avoid using harsh chemicals that may damage the seat material.
- Proper Storage: When not in use, store your bike in a secure and dry location to prevent exposure to harsh elements. Use a bike cover or protective bag to shield the seat from dust, moisture, and sunlight.
- Saddle Covers: Consider using a saddle cover to protect your bike seat during rainy or wet conditions. This extra layer can help prevent water damage and prolong the lifespan of the seat.
- Adjustments: Periodically check the seat position and angle to ensure proper alignment and comfort. Make adjustments as needed to maintain optimal riding posture.
Final Thoughts on Fixing a Bike Seat Effectively
Fixing a bike seat can be a straightforward process if you follow the necessary steps and consider proper maintenance. Remember to assess the damage and determine whether a replacement is necessary. Choose a seat that suits your riding style and body type, and ensure a secure and level installation.
By properly maintaining your bike seat, you can prolong its lifespan, prevent discomfort during rides, and enhance your overall cycling experience. Don’t hesitate to seek guidance from a bike shop or a professional if you encounter any difficulties in fixing or replacing your bike seat.
With the right knowledge and approach, you can confidently tackle any bike seat issues and enjoy a comfortable and enjoyable ride every time. So, keep those wheels turning and hit the road with a properly fixed and maintained bike seat.